PREREQUISITES
-
At least two HSM Administrators (to satisfy ‘M of N’ authentication security requirements) with Smartcards, in front of the StrongKey Tellaro appliance with a PIN-pad Smartcard reader.
-
Anti-static wrist band to handle the HSM
-
Replacement batteries
BACK UP THE HSM
We recommend taking the back up for the HSM before replacing the battery, in case of a scenario where data is lost during the battery replacement.
Before creating the encrypted backup, have a place ready to store these files, whether in a folder on the file system—such as /root/backups or an external USB device.
- Connect the appropriate Smartcard reader with a PIN-pad to the front USB port of the StrongKey Tellaro appliance. Depending on the server hardware, some models do not recognize the reader on the USB ports at the back of the machine without configuration changes in the machine's BIOS
- Login into the appliance as the ‘root’ user. You must login into the appliance’s console to operate the smartcard and PIN-pad reader with the HSM’s Cryptoserver Administration Tool (CAT) – you cannot use an SSH or Putty session for this task
- If the graphical user interface (GUI) of the appliance does not start automatically, at the command prompt, start X-Windows as follows:
shell> startx -
When X-Windows is running, start a terminal shell by selecting Terminal from the GUI menu.
- Run the Cryptoserver Administration Tool (CAT):
shell> java -jar /usr/local/bin/cat.jar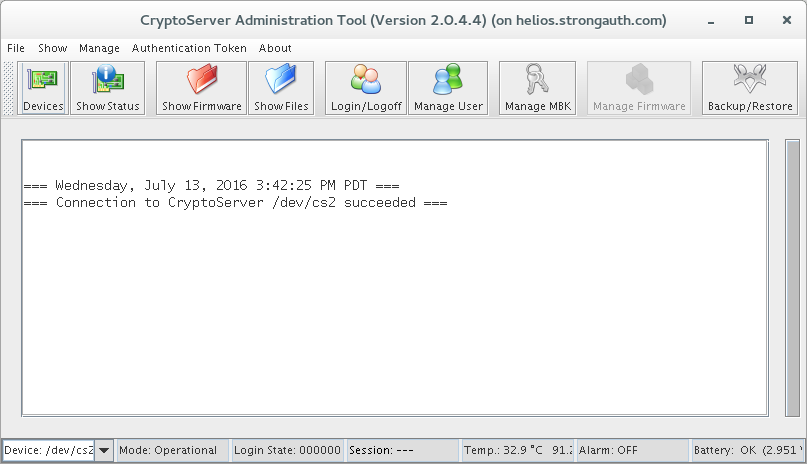
-
Click on the Devices button and connect to HSM with /dev/cs2.0 as the device and click 'OK'.
- Authenticate to the tool by selecting the Login/Logoff button.
-
A panel will display a list of existing credentials with additional information about the credentials
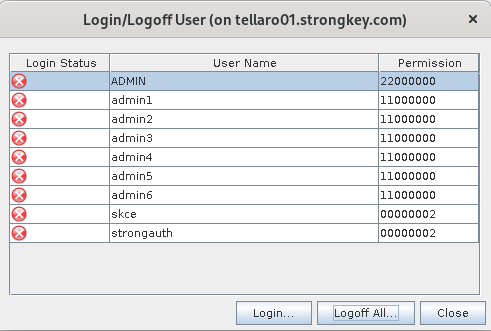
NOTE: that the number of administrators will vary from site to site, depending on the security policy of the site. If an “M of N” authentication policy is in force, there will generally be a minimum of three (3) administrator credentials (the ‘N’ component) configured in the HSM during installation, of which a minimum of two (2) administrators (the ‘M’ component) must authenticate to CAT to perform administrative tasks
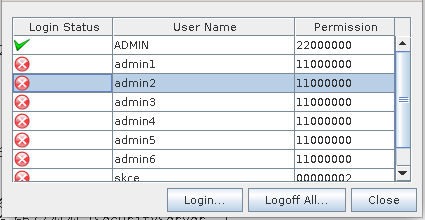
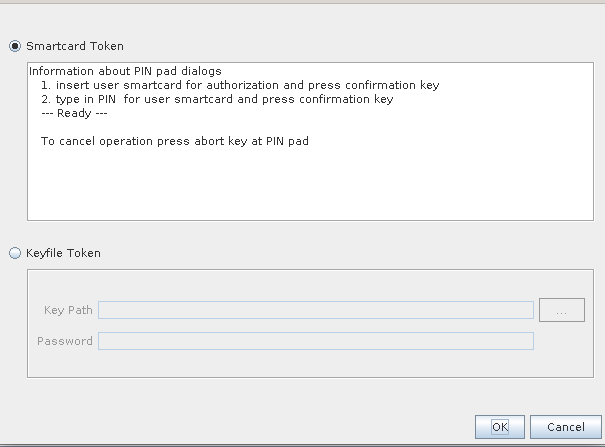
- Choose any one of the Administrator credentials on the displayed User Management panel. This will prompt whether you want to use the Smartcard Token or keyfile Token. If using the SmartCard Token, click on "OK".
-
This will prompt the user to authenticate with their smartcard (with a sliding bar moving up and down on the right-hand side of the panel)
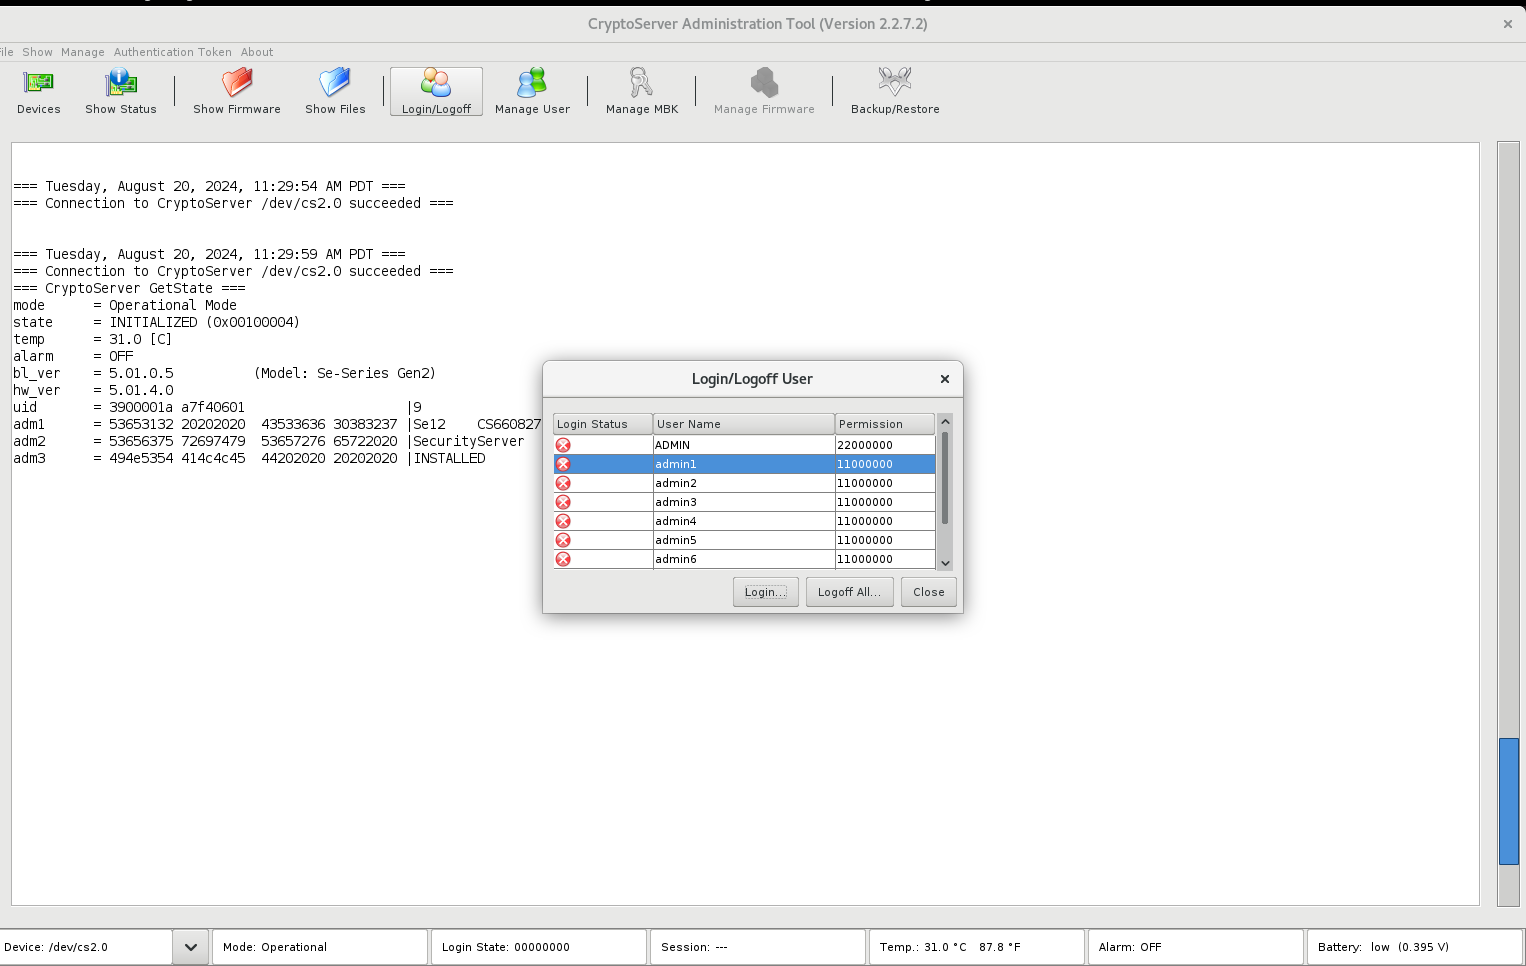
- The administrator must insert their smartcard into the reader, press "OK" and follow prompts on the PIN-pad reader’s screen to enter their secret PIN. A successful PIN authentication will enable the smartcard to authenticate the user to CAT.
NOTE: Each administrator must choose their credential on the CAT panel to authenticate with their smartcard until the requisite number (‘M’) of administrators have authenticated to CAT
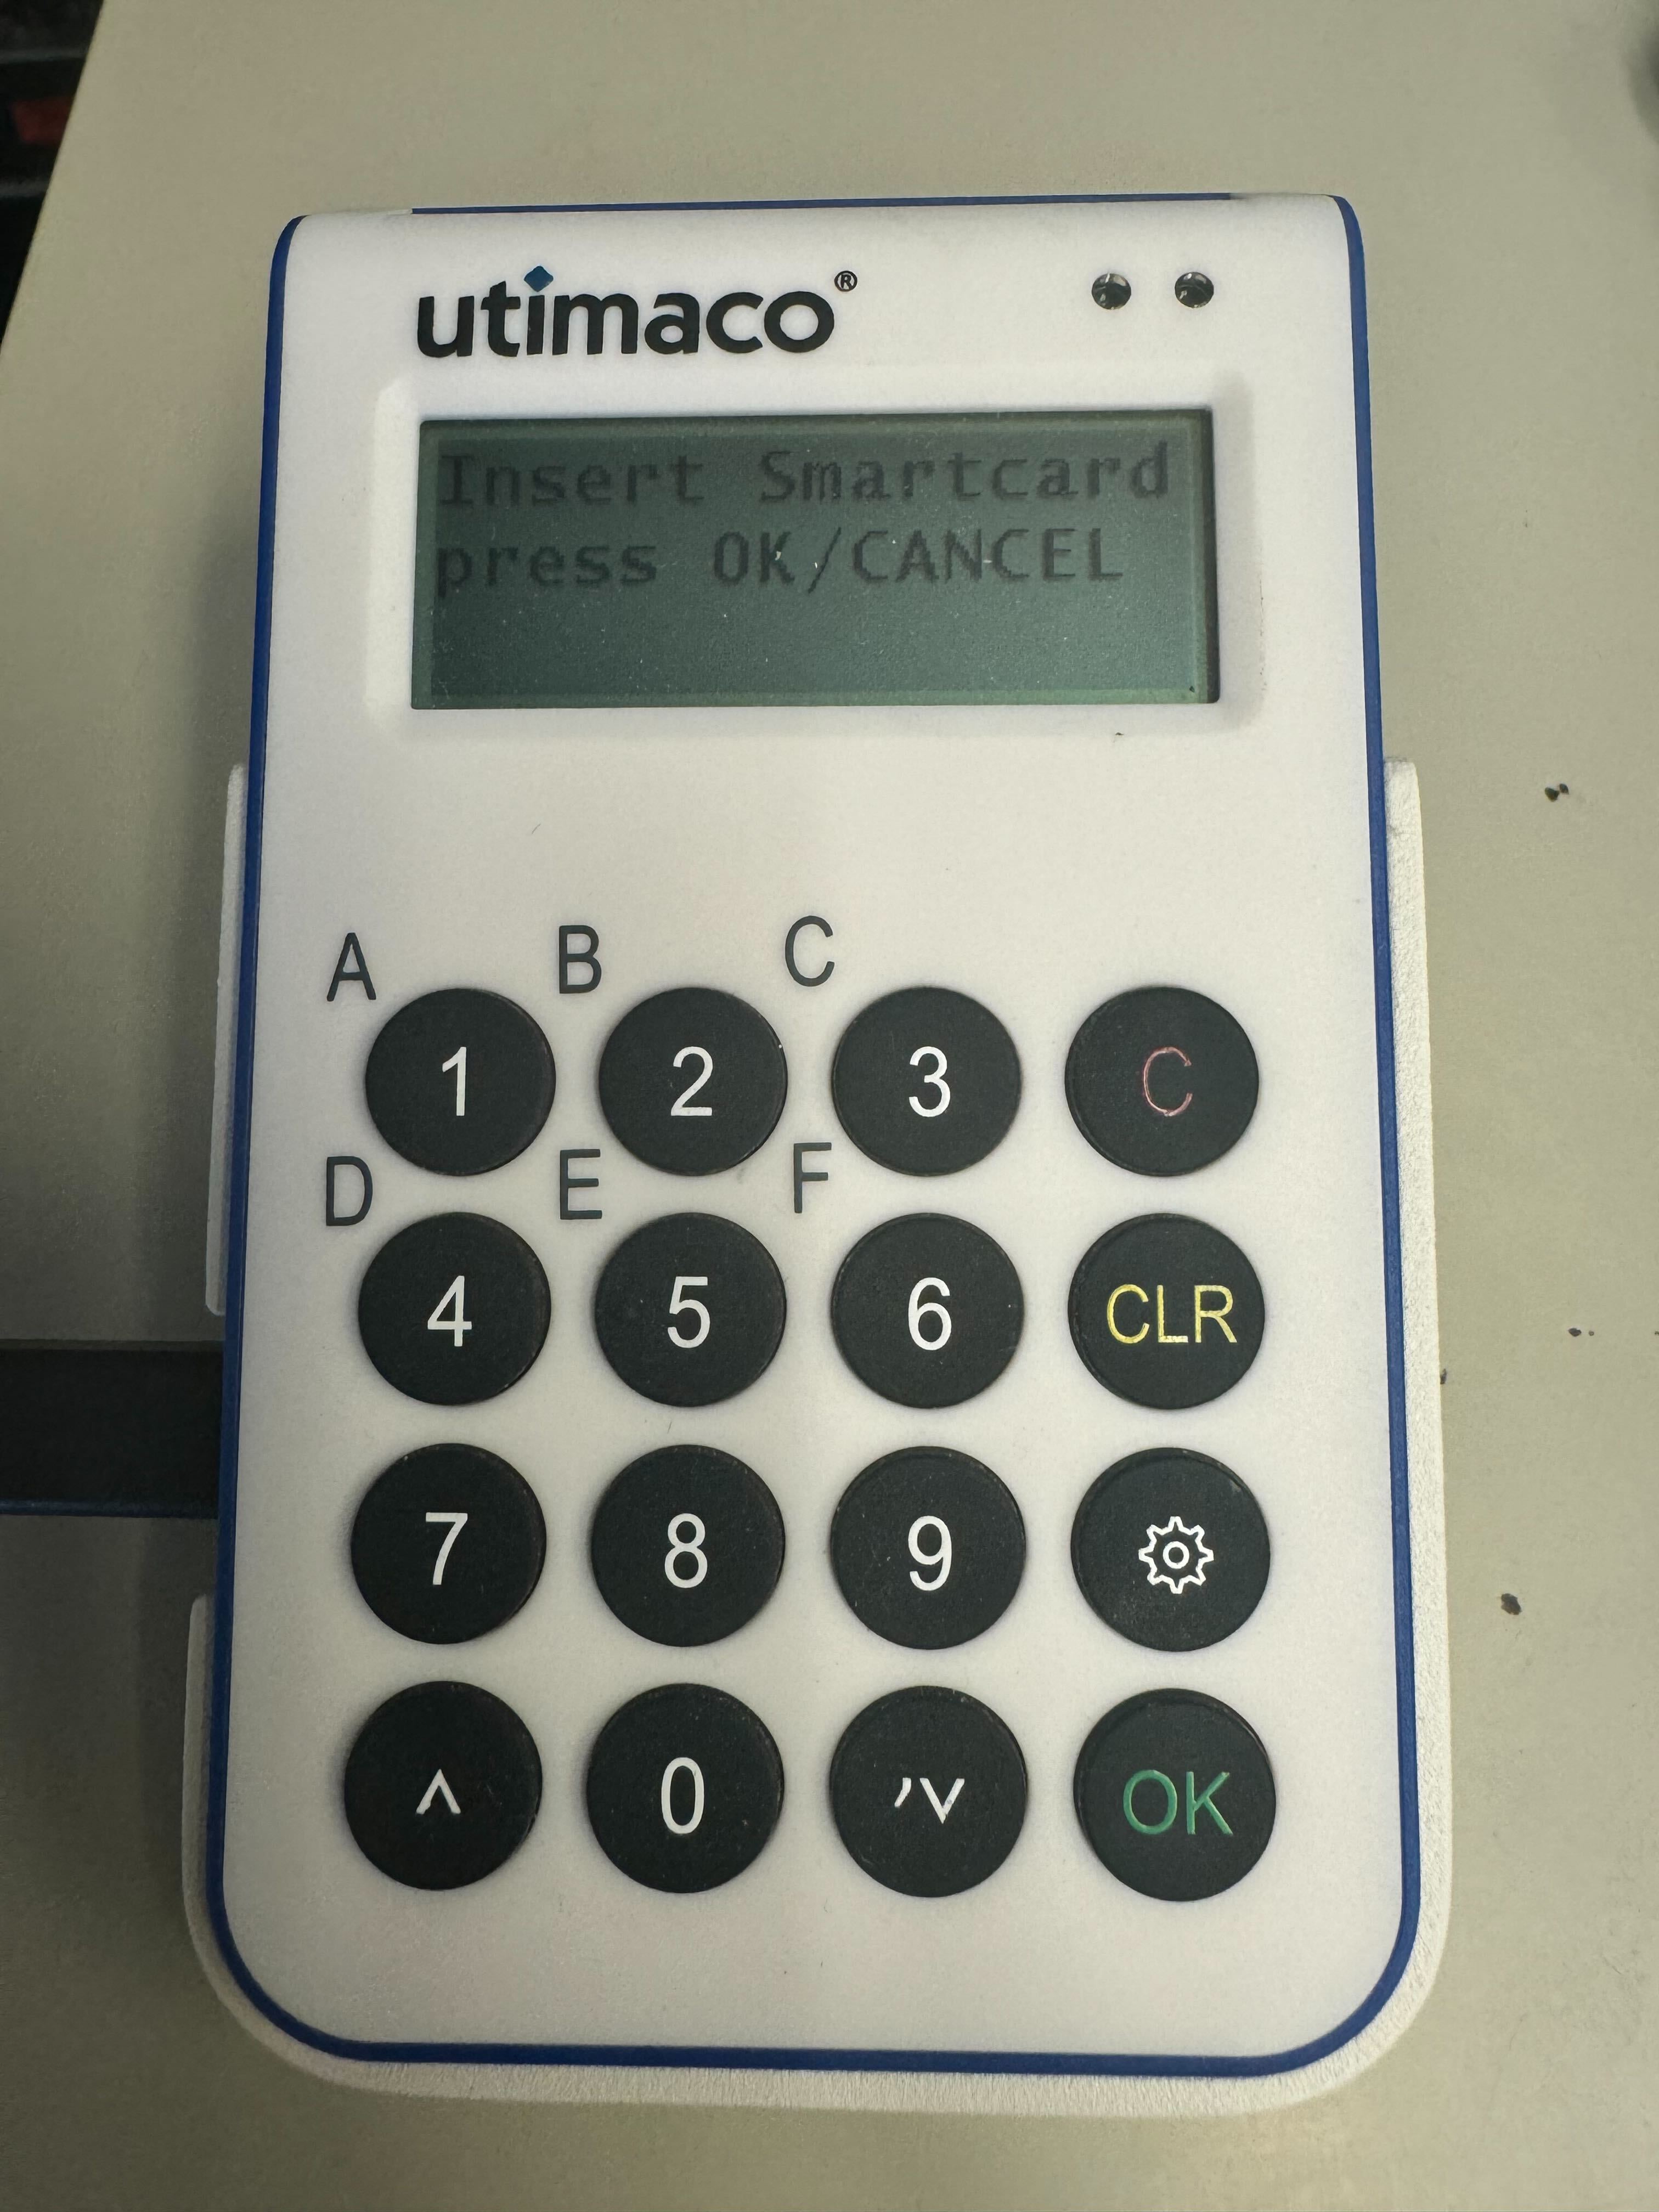
- When ‘M’ administrators have successfully authenticated to CAT, all the tabs will be active. Ensure the Login State of 22000000 in CAT by logging in up to two administrators if necessary.
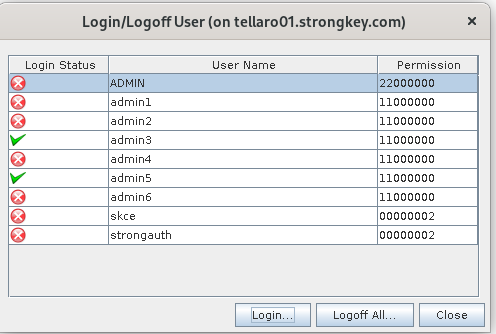
- Remove the smartcard reader with the PIN-pad from the front USB port (however, have it handy in case the work does not get completed and the session, inadvertently, expires).
- Select the Menu option: Manage MBK --> Info Tab and copy the KeyCheck Value (KCV) under the "hsm-mbk" and paste that in a notepad. This value will only be needed if data is lost during the battery replacement.
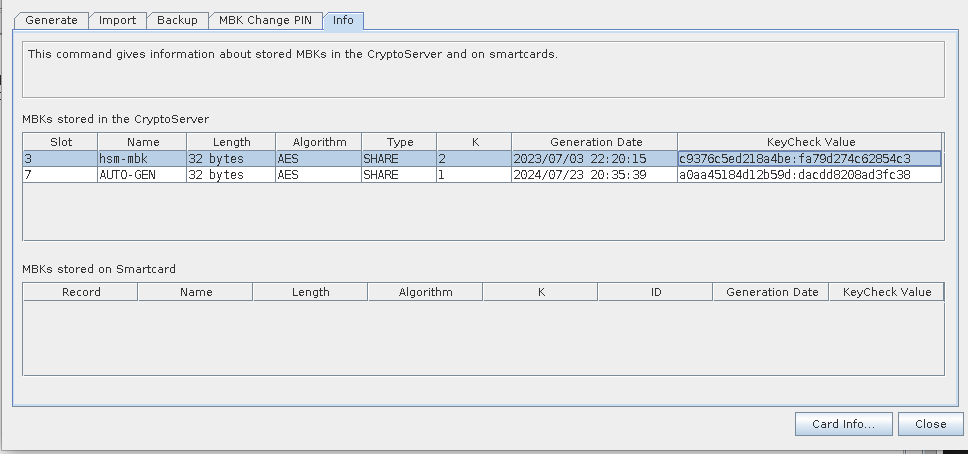
- Now, Select the menu option Manage → Backup/Restore.
-
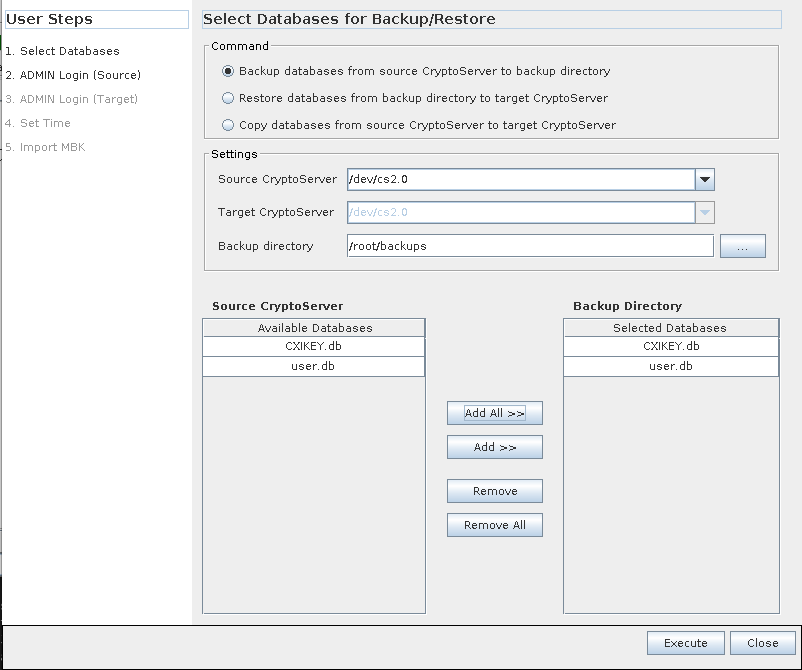
Back up the HSM databases by selecting ‘Backup databases from Source CryptoServer to Backup directory’ option and string the backups in the folder. Make sure to select all the databases displayed in the list.
-
The CryptoServer Database Backup/Restore Wizard controls the type and specifications of the operation you will be performing. The Command to create the backup is Backup databases from Source CryptoServer to Backup directory. The Source CryptoServer will be
/dev/cs2.0. Select the backup directory—either a local folder such as/root/backupsor the path to a mounted USB device. Click the Add All >> button to add bothCXIKEY.dbanduser.dbunder Backup Directory. -
Once finished making these changes, click the Execute button.
Upon a successful backup, a list of exported files displays.
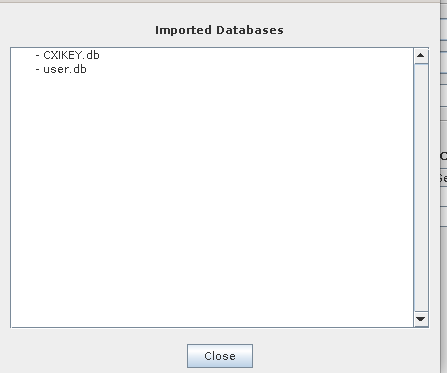
If these files were backup up to a local folder, it is still recommended they also be copied to a backup USB device for more redundancy.
-
Close the CAT panels and windows
REPLACE BATTERY
Follow the process specified in the operating manual of the HSM installed in your environment. The manual generally outlines all the steps and images to guide through the Battery Replacement process.
CHECK THE HSM STATUS
The easiest way to gather information about the status of the HSM is through the command line tool csadm. The csadm command can be used to perform nearly all administrative tasks, though we recommend using the much more user-friendly GUI tool CryptoServer Administration Tool.
- Login as "strongauth" user
- Run the following command to confirm that HSM is in operational mode:
shell> csadm Dev=/dev/cs2.0 getState mode = Operational Mode state = INITIALIZED (0x00100004) temp = 30.9 [C] alarm = OFF bl_ver = 5.01.0.5 (Model: Se-Series Gen2) hw_ver = 5.01.4.0 uid = 3900001a a7f40601 |9 | adm1 = 53653132 20202020 43533636 30383237 |Se12 CS660827| adm2 = 53656375 72697479 53657276 65722020 |SecurityServer | adm3 = 494e5354 414c4c45 44202020 20202020 |INSTALLED | - Run below command to check the status of the battery on HSM
shell> csadm Dev=/dev/cs2.0 getBattState Carrier Battery: ok (3.083 V) External Battery: absence - Since the server rebooted and payara restarted, set PIN's on this appliance using KC-SetPin:
shell> KC-SetPINTool.sh - Once the PIN's have been set, run the ping command and enter password:
shell> pingsaka.sh <hostname> <did>

example:
shell> pingsaka.sh tellaro01.strongkey.com 1
or
shell> pingsaka.sh 1
RESTORE THE HSM (ONLY NEEDED IN CASE OF DATA LOSS)
Some manufacturers specify the maximum time required to replace the battery. During this period, it is guaranteed that a capacitor will supply the PCIe plug-in card with electric current. However, if the replacement takes longer than expected or the battery is faulty, the HSM might wipe all the data. Consequently, the Master Backup Keys (MBK) and databases will need to be recovered for the appliance to function again. Here is what a wiped HSM would look like with only the default admin:
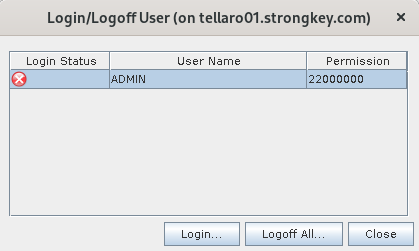
Please follow the steps in case HSM needs to be recovered:
STEP1: IMPORT THE MBK
- Login as "strongauth" user.
- Insert the backup USB.
- Run the tool:
shell> java -jar /usr/local/bin/cat.jar - If the device list is empty, add the ‘/dev/cs2.0’ as a device and click ‘OK’.
- Login to the tool by clicking on the ‘Login/Logoff’ button and selecting the ADMIN user. Use the key file located under
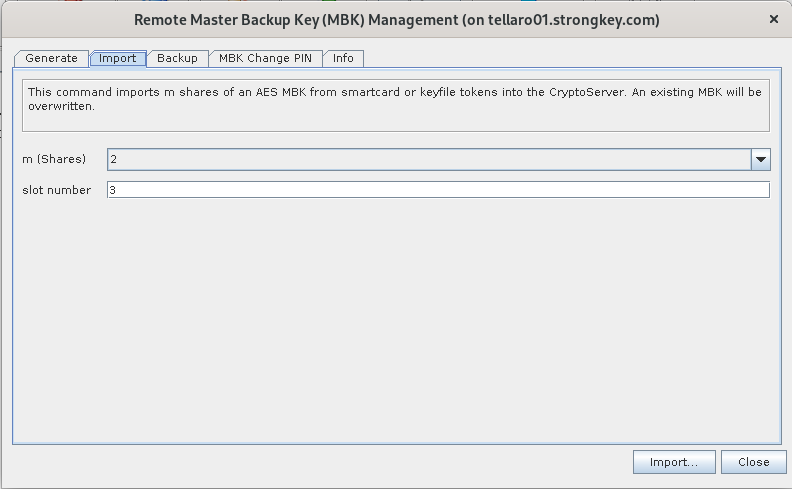
'/usr/local/strongauth/strongkeylite/etc/ADMIN.key' - Import the Master Backup Key that were created on the SmartCards. To do so, click on the ‘Manage MBK’ button
-
Change to the Import tab.
-
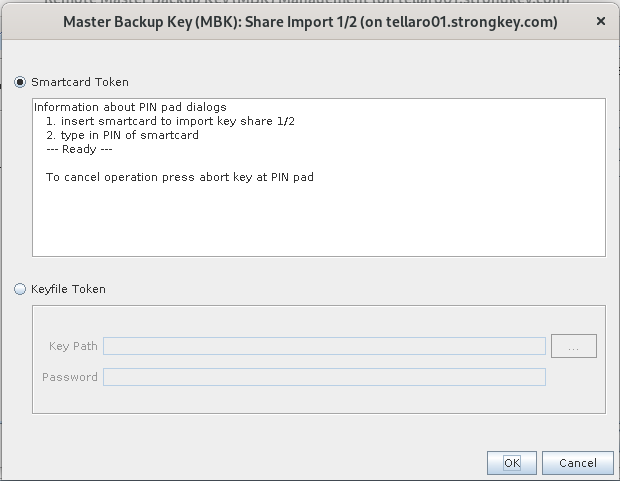
Click Import. Share Import window allows importing the MBK backup from a choice between smart cards or keyfiles. Leave the selection as MBK Smartcard Token and click OK.
-
Use any 'm' MBK smart cards from the 'n' MBK cards originally created. The chosen MBK smart card holder must then follow directions on the smart card reader.
-
Once CAT is done with this share, it will move on to the second share. Import the second share to finish the process.
-
After finishing the MBK import, Close the Remote Master Backup (MBK) Management window. Open it again with the menu option Manage MBK. It must be closed and opened again to refresh the information in the Info tab (it is not automatically refreshed after generating an MBK).
-
Now select the Info tab:

-
The Info tab shows details about this MBK. Verify the MBK KeyCheck Value is the same as when it was first generated in the backup.
STEP2: IMPORT THE HSM DATABASES
At this point you should have an HSM with the correct MBK loaded. Before restoring the encrypted backup, make sure you have file system access to the encrypted backups whether they are in a folder such as /root/backups or an external USB device.
-
Ensure a Login State of 22000000 in CAT by logging in up to two administrators if necessary.
-
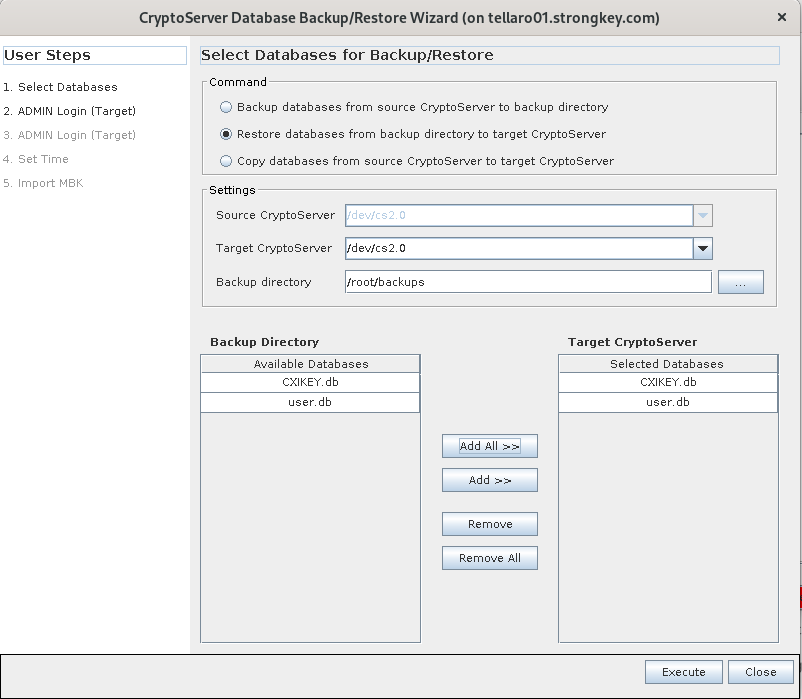
Click the menu option Manage → Backup/Restore. Restore the HSM databases by clicking on the ‘Backup/Restore’ option. Select ‘Restore databases from Backup directory to Target CryptoServer’ option and select the directory that has the databases that were backed up from the primary server
(Backup USB's). Make sure to select both the CXI and Users databases from the list.
-
The CryptoServer Database Backup/Restore Wizard allows control over the type and specifications of the operation to be performed. The Command to create the backup is Restore databases from Backup directory to Target CryptoServer. The Target CryptoServer will be
/dev/cs2.0.Select the backup directory—either a local folder such as/root/backupsor the path to a mounted USB device. Click Add All >> to see bothCXIKEY.dbanduser.dbadded under Target CryptoServer. Once finished making these changes, click the Execute button. -
If the import is successful, you will be shown a list of imported files:

This process will import all new content from the encrypted database backups into this HSM. Please restart Payara and set PINs before testing the functionality.
