Product Documentation
Introduction
This guide provides steps to burn a Rocky Linux ISO to a USB.
Environment
- Rocky Linux 9.x (Tested on Rocky Linux 9.3)
Prerequisites
- Download the Rocky 9 Kickstart ISO using the link provided by StrongKey.
Steps
-
Get a USB flash drive with a capacity of at least 16GB.
-
Plug the USB flash drive in a computer running Linux.
-
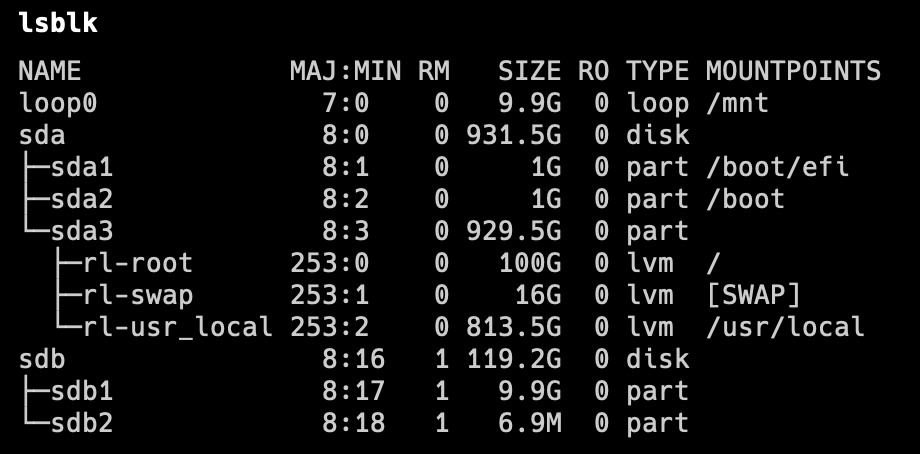
Identify the name of the flash drive as the OS sees it by running the following command
$ lsblk
You will get an output similar to the screenshot below:
-
In this case its sdb. Use the dd command to copy the ISO to the USB flash drive by running the following command:
$ sudo dd if=<path-to-iso>/<rocky-93-kickstart>.iso of=/dev/sdb bs=4M status=progress
-
After the dd command is done running you will see an output similar to the screenshot below:

-
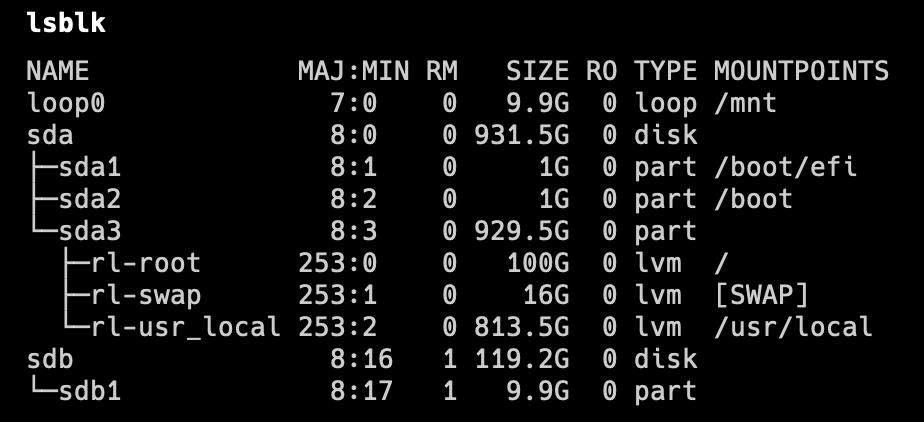
Use the lsblk command again to view the partitions on the USB drive you will see the output similar to the screenshot below: