Product Documentation
Configuring PAM for use with iShield Key 2
The following section describes how to configure the iShield Key 2 for use as a second factor to authenticating to a privileged credential on the Tellaro Console by assigning a PIN to it. This is only required if you want to enforce PIN for Linux login.
These steps were performed on a Rocky 10.1 computer; however, it is conceivable that the steps will be identical on all platforms supported by Swissbit. When performing this installation, the user must have Administrator privileges on the computer.
- Download the iShield Key Management Kit from Swissbit’s website.
- Install the downloaded software and run it as administrator.
- If you have not already inserted the iShield Key 2 into a USB slot on your computer, you will be prompted to insert one.
- You should see the iShield Key Management Kit’s Home screen – displaying the model name, firmware release number, as well as the serial number of the Security Key.
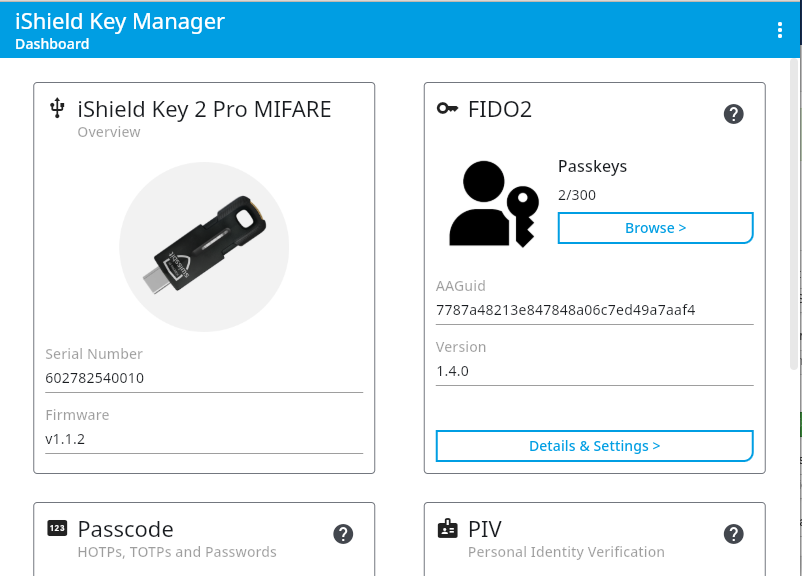
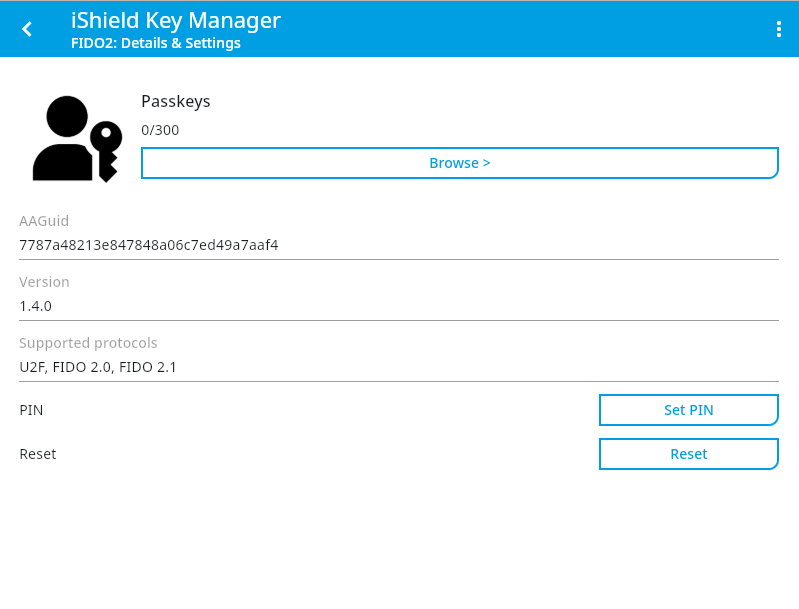
- Click on "Details & Settings" under the "FIDO2" section.
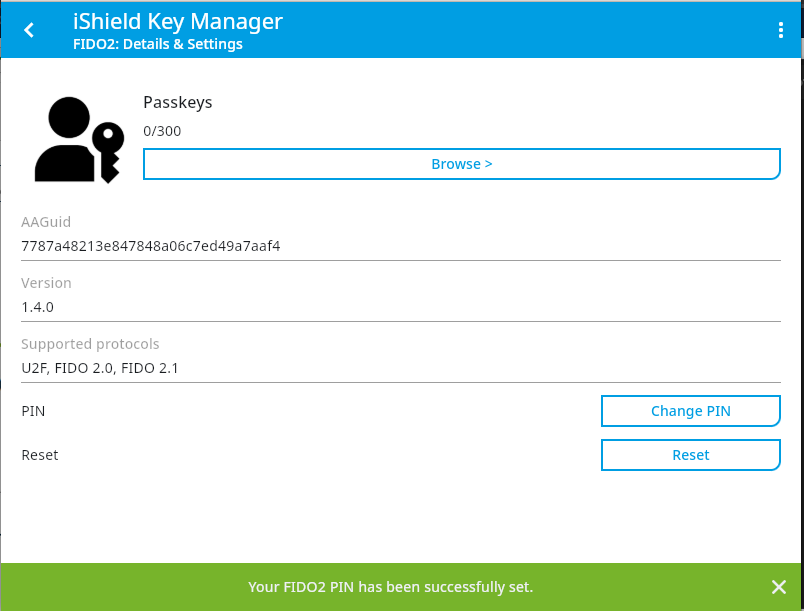
- You will be taken to a page where you can manage the FIDO2 PIN on the device. Click on "Set Pin".
- You will be prompted to set a PIN for the iShield Key 2. Enter a suitable PIN and click on "Set Pin".

- Once the PIN is set, a message saying "Your FIDO2 PIN has been successfully set." will be displayed at the bottom of the application.